Introduction
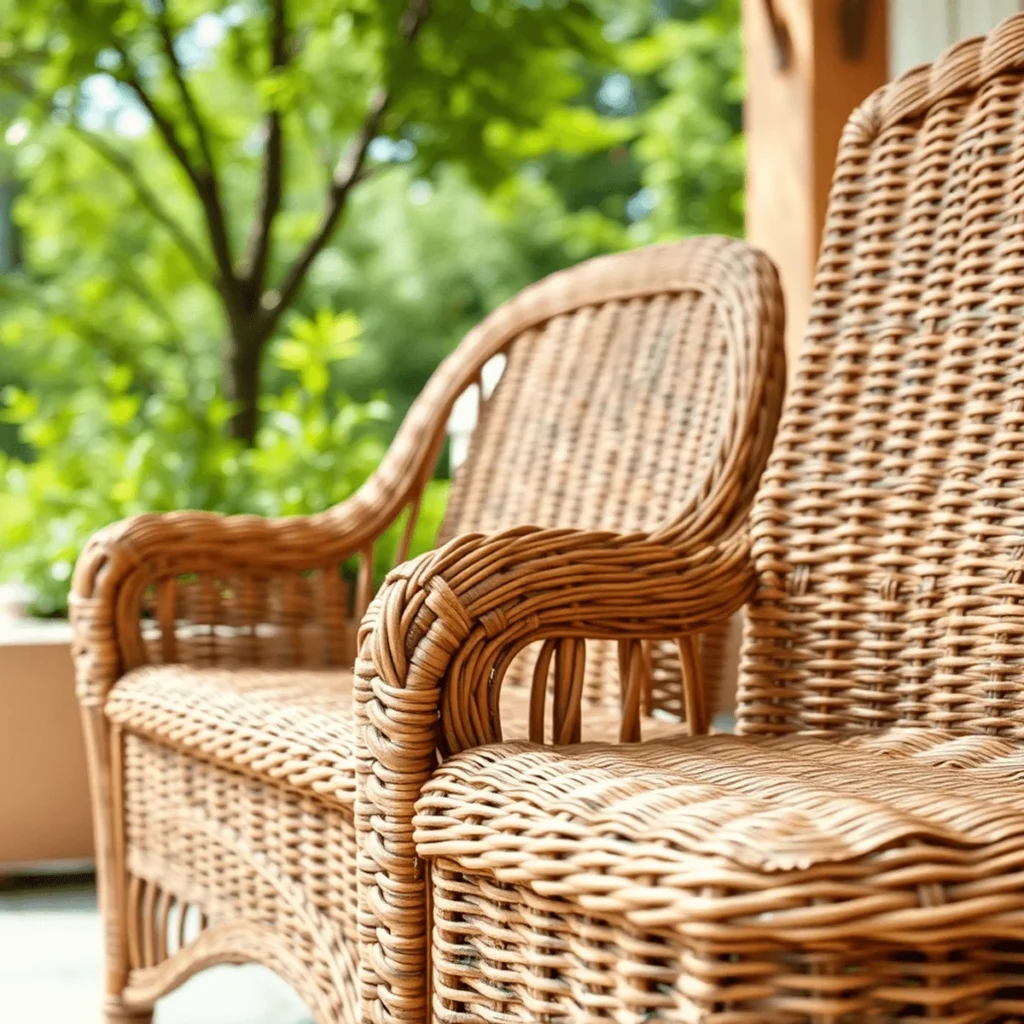
Wicker furniture adds timeless charm and natural beauty to any space, from cozy indoor reading nooks to inviting outdoor patios. These versatile pieces have captured homeowners’ hearts for generations, thanks to their lightweight construction, aesthetic appeal, and eco-friendly materials.
Your beloved wicker chairs, tables, or sofas might show signs of wear over time – a loose strand here, a crack there. Don’t let these minor imperfections lead you to replace your cherished pieces. Learning how to fix wicker furniture is a rewarding DIY project that can save you money while preserving the unique character of your home decor.
Whether you’re dealing with a weathered outdoor set or a vintage indoor piece, fixing wicker furniture requires minimal tools and basic techniques. This guide will walk you through the essential steps to restore your wicker pieces to their former glory. You’ll discover that with patience and the right approach, bringing life back to your wicker furniture is simpler than you might think.
What is Wicker Furniture?
Wicker isn’t a material – it’s a specialized weaving technique used to create furniture and decorative items. This age-old crafting method involves weaving pliable materials into a rigid structure, creating the distinctive patterns you see in wicker furniture.
Natural Wicker Materials
- Rattan: A vine-like palm species known for its strength and flexibility
- Reed: Thin strips from the outer bark of rattan
- Bamboo: Sustainable material with excellent durability
- Willow: Traditional material offering a rustic appearance
Synthetic Wicker Materials
- High-Density Polyethylene (HDPE): UV-resistant and weather-proof
- Resin: Durable synthetic material that mimics natural wicker
- PVC: Affordable option with good weather resistance
Synthetic wicker brings significant advantages for outdoor furniture:
- Weather-resistant properties
- No risk of mold or mildew growth
- Minimal maintenance requirements
- Color retention even under direct sunlight
- Extended lifespan compared to natural materials
Natural wicker excels in indoor settings, offering:
- Authentic aesthetic appeal
- Natural flexibility for intricate designs
- Eco-friendly material choice
- Traditional craftsmanship value
- Better breathability in indoor environments
The choice between natural and synthetic wicker depends on your specific needs, with each material bringing unique characteristics to your furniture pieces.
Common Issues and How to fix wicker furniture

Wicker furniture faces several distinct challenges that can affect both its appearance and structural integrity. Let’s explore these common issues and their root causes:
1. Fraying and Splitting
Look out for the following signs of fraying and splitting in your wicker furniture:
- Loose or unraveling strands at the edges
- Broken or split reeds, particularly in high-stress areas
- Visible gaps in the weave pattern
2. Structural Damage
Pay attention to these indicators of structural damage:
- Weakened chair legs from constant weight pressure
- Sagging seats due to compromised support structure
- Broken or missing wicker strands in crucial areas
3. Weather-Related Issues
Be aware of potential weather-related problems such as:
- Color fading from UV ray exposure
- Brittleness in natural wicker from moisture fluctuations
- Mold growth in damp conditions
- Warping from extreme temperature changes
4. Physical Wear
Watch for signs of physical wear on your wicker furniture, including:
- Scratches and scuffs from daily use
- Discoloration from spills and stains
- Loosening joints from regular movement
These issues often stem from various factors, including:
- Direct sunlight exposure
- Rain and humidity changes
- Temperature fluctuations
- Regular use without maintenance
- Improper cleaning methods
- Poor quality materials
Regular inspection can help catch these problems early on. Keep an eye out for:
- Changes in wicker flexibility
- Unusual creaking sounds
- Visible color changes
- Loose or protruding strands
- Unstable movement when sitting
To prevent severe damage, it’s important to have a consistent maintenance schedule in place. Make sure to clean your wicker furniture regularly, protect it from harsh weather conditions, and address any minor repairs promptly. By doing so, you can maintain both the structural integrity and appearance of your furniture pieces.
Supplies Needed for Repairing Wicker Furniture

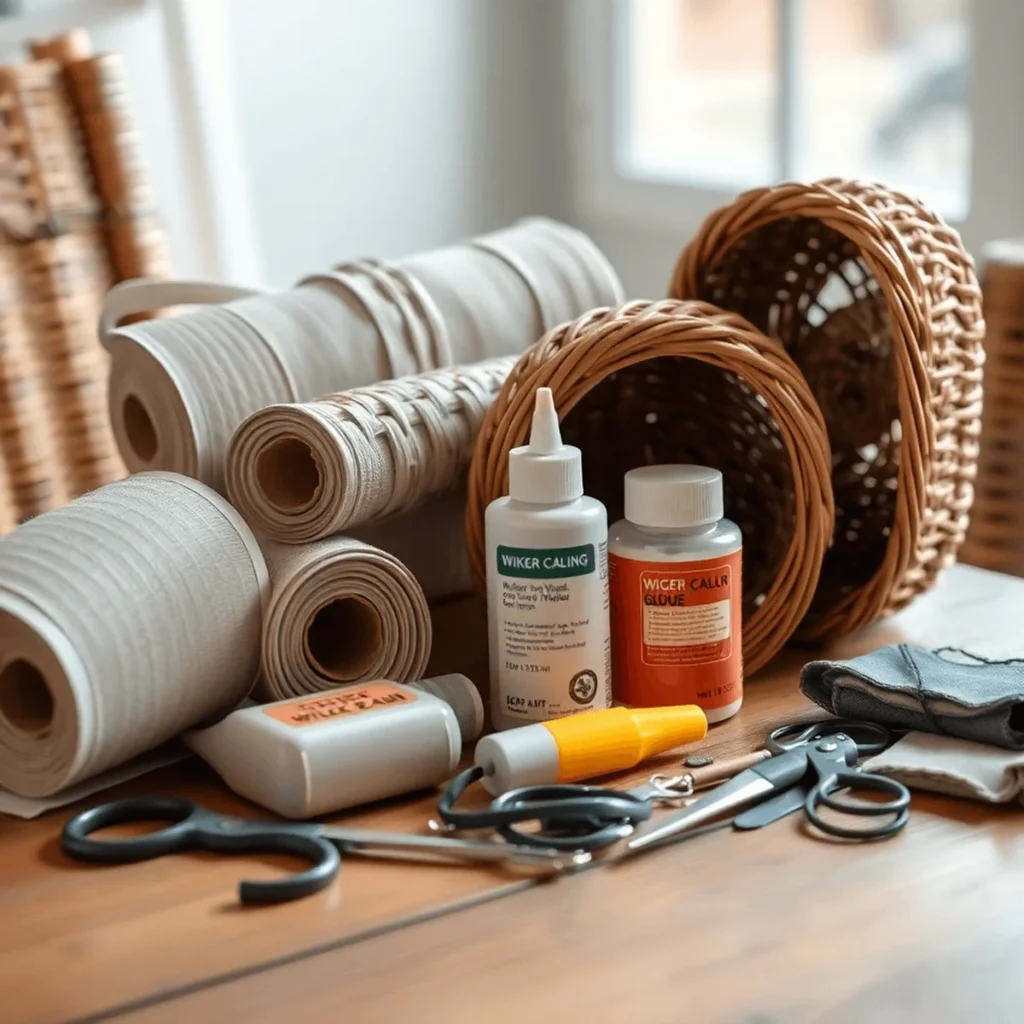
Your wicker repair project starts with gathering the right tools. Here’s a comprehensive list of essential supplies you’ll need:
Basic Cleaning and Preparation Tools
- Soft-bristled toothbrush for gentle cleaning
- Clean, dry cloths for wiping surfaces
- Mild soap solution for deep cleaning
- 120-grit sandpaper to smooth rough areas
Repair and Weaving Tools
- Needle-nose pliers to manipulate reed ends
- Sharp scissors or utility knife for clean cuts
- Wood glue or specialized wicker adhesive
- Small clamps to hold pieces while glue dries
- Spray bottle for moistening natural reed
Replacement Materials
- Natural reed strands in matching sizes
- Synthetic wicker strips for outdoor furniture
- Wood dowels for structural support
- Paint or stain matching your furniture’s color
- Clear sealant for weather protection
Natural Reed Properties
Natural reed requires soaking in warm water for 30 minutes before use. This makes it pliable and easier to weave. Choose reed that matches your furniture’s existing material in both color and width.
Synthetic Reed Selection
Synthetic reeds come pre-colored and weather-resistant. They’re ideal for outdoor furniture repairs. Look for UV-resistant varieties to prevent future fading. These materials don’t require soaking and maintain consistent flexibility.
A Step-by-Step Guide to Fixing Wicker Furniture Like a Pro!

Let’s dive into the repair process with these proven techniques to restore your wicker furniture.
1. Assess the Damage
Start by examining your furniture in bright light. Look for:
- Broken strands: Count the number of damaged pieces
- Loose weaving: Check for areas where the pattern has come undone
- Structural issues: Inspect joints and support areas
- Color fading: Note any discolored sections needing treatment
Pro tip: Take photos of the damaged areas to reference the original weaving pattern during repairs.
2. Identify Your Reed Type
Place a small piece of the damaged reed in water:
- Natural reed: Becomes flexible and darker when wet
- Synthetic reed: Maintains rigidity and color
- Color match: Hold replacement reed against undamaged areas to ensure consistency
3. Remove Damaged Sections
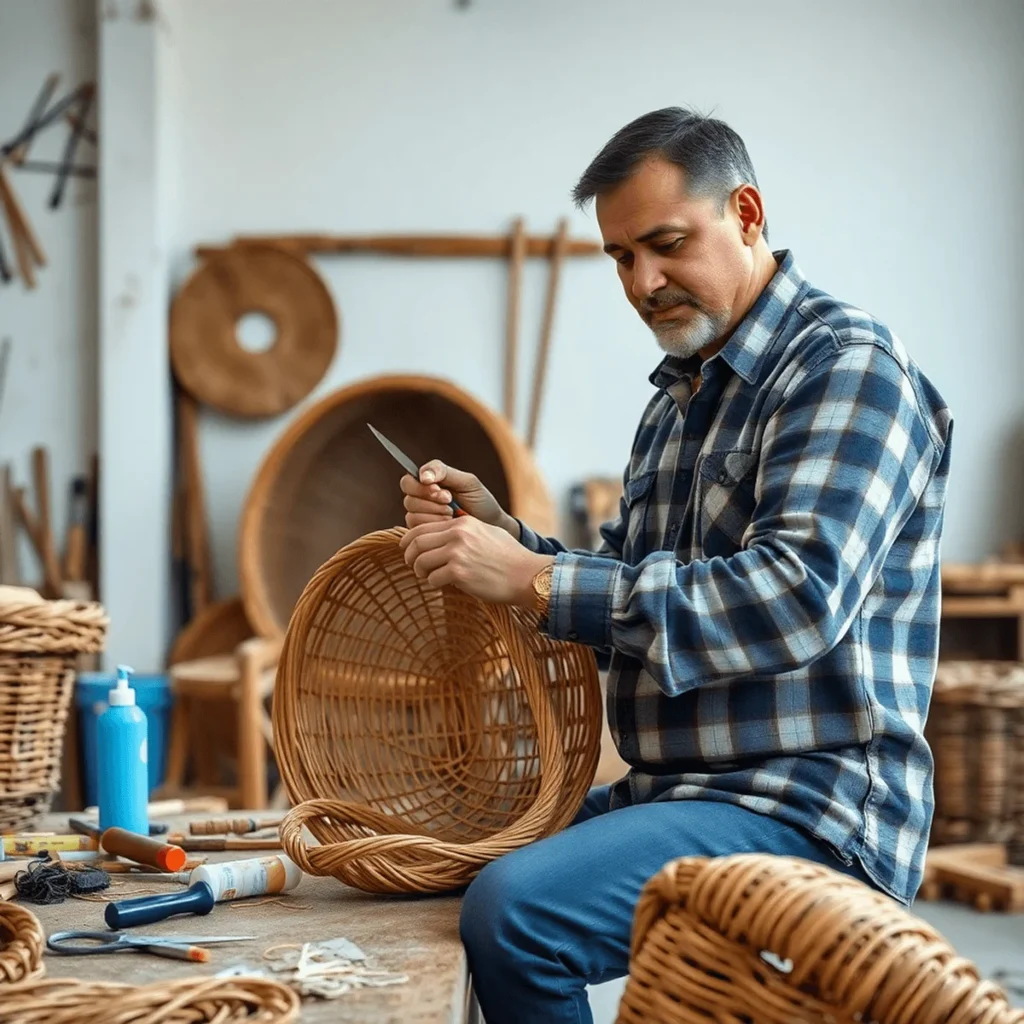
Using sharp scissors or a utility knife:
- Cut damaged reed at the anchor points
- Gently pull out broken pieces
- Clean the exposed area with a soft brush
- Mark the weaving pattern for reference
4. Cut and Weave Replacement Reed
Measuring Guidelines:
- Add 6 inches to your required length for securing ends
- Soak natural reed for 30 minutes before weaving
- Test flexibility before installation
Weaving Steps:
- Start from the anchor point closest to undamaged sections
- Follow the existing pattern precisely
- Maintain consistent tension throughout
- Stagger joining points to distribute stress
5. Secure Your Work
Apply wood glue:
- Vertical joints: Place tiny drops at crossing points
- End points: Tuck and secure with glue
- Pressure points: Add extra reinforcement
- Drying time: Allow 24 hours for complete curing
6. Apply Finishing Touches
Match your repair to existing furniture:
- Sand rough areas with fine-grit sandpaper
- Apply stain or paint in thin layers
- Use clear coat sealant for protection
- Allow each layer to dry completely
When Should You Call a Professional? Understanding the Balance Between DIY Repairs and Seeking Help from Experts
DIY wicker repairs can save you money and bring a sense of accomplishment. A simple repair job might cost $50-100 in materials, compared to professional services ranging from $200-500. You’ll gain valuable skills and intimate knowledge of your furniture through hands-on experience.
Consider professional help when you notice:
- Structural damage affecting the furniture’s stability
- Multiple broken strands in complex weaving patterns
- Extensive rot or mold damage
- Repairs requiring specialized tools you don’t own
- Antique or high-value pieces requiring expert restoration
Signs you can handle DIY repairs:
- Small breaks in simple weaving patterns
- Minor cosmetic damage
- Loose strands needing reattachment
- Basic color touch-ups
- Single reed replacements
The time investment for DIY repairs varies based on damage extent. Simple fixes might take 2-3 hours, while complex repairs could require several days. Professional restorers bring specialized expertise and tools, completing most repairs within 1-2 business days.
Urbanland Products stands out as the best in the industry for wicker furniture solutions, thanks to our unwavering commitment to quality and craftsmanship. Our expert team combines years of experience with a passion for design, ensuring every piece meets the highest standards of durability and aesthetic appeal.
We utilize sustainable materials and traditional weaving techniques, creating products that not only look stunning but also stand the test of time. With a customer-centric approach, we offer tailored services that guide you through the process, whether you’re looking to restore your cherished wicker furniture or enhance your home with new pieces.
Trust Urbanland Products to provide exceptional service and beautiful, functional wicker solutions that elevate your living spaces. Click here to repair your wicker furniture today!
Conclusion
Restoring wicker furniture brings new life to cherished pieces while building valuable DIY skills. Your efforts in fixing wicker furniture create a sense of accomplishment and preserve the unique character of each piece. The time invested in repairs pays off through significant cost savings and the satisfaction of maintaining beautiful, functional furniture.
You now have the knowledge to tackle basic wicker repairs with confidence. Start small, practice your technique, and watch as your wicker pieces transform under your care. Remember – each successful repair strengthens your abilities and adds to the rich history of your furniture. Take pride in becoming part of your wicker furniture’s story through thoughtful restoration and care.
FAQs (Frequently Asked Questions)
What is wicker furniture and why is it popular?
Wicker furniture is made using a weaving technique that combines various materials, primarily rattan and synthetic fibers. Its popularity stems from its durability, aesthetic appeal, and versatility for both indoor and outdoor settings.
What are common issues that occur with wicker furniture?
Common issues with wicker furniture include fraying, cracking, and fading. These damages can result from weather exposure and general wear and tear over time.
What tools do I need to repair wicker furniture?
Essential tools for repairing wicker furniture include a toothbrush for cleaning, sandpaper for smoothing rough edges, and pliers for handling reeds. Additionally, you may need natural or synthetic reeds for replacement during repairs.
How can I assess the damage to my wicker furniture before repairing it?
To assess the damage, carefully evaluate the extent of wear or breakage. Look for areas that are frayed or cracked, and determine if any sections need to be removed or replaced entirely.
When should I consider calling a professional for wicker repairs?
Consider calling a professional if the damage is extensive or if you lack experience in handling intricate repairs. Professional assistance can ensure that your furniture is restored correctly without further damage.
What are the benefits of maintaining wicker furniture regularly?
Regular maintenance helps prevent common issues such as cracking and fading from worsening. By caring for your wicker furniture, you can extend its lifespan and preserve its beauty and craftsmanship.


